Understanding the key components of a modern toilet (bowl, tank, flushing mechanism) is crucial for successful installation. When selecting a toilet, align aesthetic preferences with practical needs like size, water efficiency, and features. Careful measurement and planning ensure compatibility and a seamless setup. Unpack and inspect the new toilet, clear obstacles, and prepare the bathroom floor. The installation process involves securing the toilet, connecting water lines, setting drainage, and adjusting valves to prevent leaks. Thorough final checks include testing connections, water level, and alignment for a successful Toilet Installation.
“Toilet Installation is a crucial process that transforms your bathroom space. Understanding the components, choosing the right fit, and proper planning are essential steps for a successful setup. From measuring your space to unpacking and preparing, this guide covers it all. Learn how to select the perfect toilet tailored to your needs, ensuring a seamless installation process. Discover the art of plumbing connections and final touches, commissioning your new toilet with confidence. Elevate your bathroom experience with our comprehensive toilet setup and installation overview.”
Understanding Toilet Components: A Comprehensive Overview

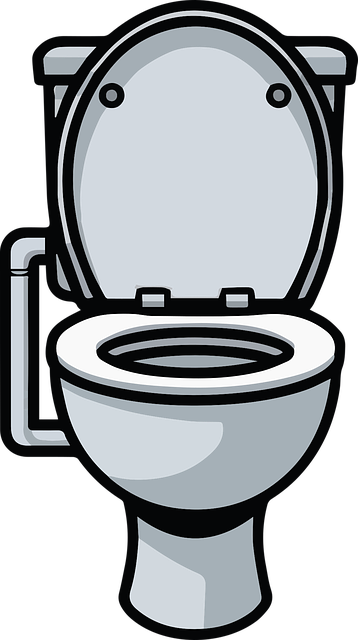
When it comes to toilet installation, understanding the various components that make up your new toilet is crucial. A modern toilet consists of several key parts: the bowl, the tank, and the flushing mechanism. The bowl, often made of ceramic, houses the water in the toilet and includes a rim with holes that direct water for flushing. The tank, typically located behind or beneath the bowl, stores water and houses the flush valve and other mechanisms. Inside the tank, you’ll find components like the fill valve, which controls water levels, and the float, which signals when the tank is full.
The flushing mechanism, a vital part of toilet installation, involves a chain or lever that activates the flush valve, releasing water from the tank into the bowl with each pull. This powerful combination of water and gravity effectively removes waste from the bowl and into the drain pipe connected to your sewer system. Familiarizing yourself with these components not only aids in smooth toilet setup but also enables you to identify potential issues or defects during or after installation.
Choosing the Right Toilet for Your Space and Needs

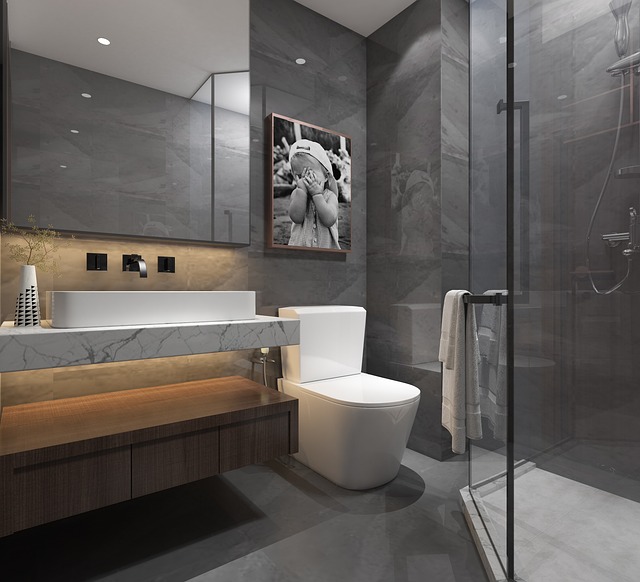
When considering a toilet setup for your space, it’s crucial to choose one that fits both your aesthetic preferences and practical needs. Factors like size, shape, and style should align with your bathroom dimensions and overall design scheme. For instance, compact toilets are ideal for smaller spaces, while larger models offer more comfort and water efficiency. Additionally, consider advanced features like dual-flush options, which conserve water, or smart toilets with integrated technology for enhanced convenience.
The right toilet installation begins with measuring your existing space or planning for the new layout. Ensure you have adequate clearance for the toilet, its base, and any additional hardware like a bidet or bathroom accessories. Checking the plumbing system in your home is also essential. Some toilets require specific water connections or may need professional assistance for proper installation. With careful consideration of these aspects, you can select and install a toilet that enhances both the functionality and aesthetics of your bathroom.
Measuring and Planning for a Successful Installation

Measuring and planning are crucial steps in ensuring a successful toilet installation. Before purchasing or installing any new toilet, take accurate measurements of the existing space to ensure compatibility. This includes measuring the distance from the wall to the center of the waste pipe, as well as the overall height and width of the intended location. A simple tape measure will do, and it’s best to double-check these figures to avoid any surprises later on.
Planning also involves deciding on the type of toilet that best suits your needs. Consider factors like water efficiency (low-flow toilets are recommended for conservation), design (from traditional round to modern elongated shapes), and features (such as two-piece or one-piece construction, additional comfort heights, or built-in bidets). With these considerations in mind, you’ll be well on your way to a seamless toilet installation.
Unpacking and Preparing the Toilet for Setup
When preparing for a toilet installation, the first step is to carefully unpack the new toilet and lay out all the components. This allows you to get a clear understanding of what parts are included in the package and ensures nothing is missing. Inspect each piece for any signs of damage before proceeding with the setup.
Next, prepare the bathroom by clearing away any obstacles that might interfere with the installation process. Ensure proper clearance around the toilet location to facilitate smooth movement during the setup. This step is crucial for a seamless Toilet Installation and ensuring the new toilet fits comfortably in its designated space.
Step-by-Step Guide to Toilet Installation
Toilet installation might seem like a daunting task, but with a step-by-step approach, it can be accomplished efficiently. Begin by preparing the bathroom floor, ensuring it’s level and secure. Remove the old toilet if there is one in place, inspecting the plumbing connections for any damage or corrosion. Next, install the new toilet, positioning it correctly and securing it to the floor with bolts. Connect the water supply lines, making sure they are tightly sealed to prevent leaks. For the drainage, follow the manufacturer’s instructions to ensure proper alignment of the drain pipe with the building’s plumbing system. Once all connections are secure, fill the tank, check for any residual leaks, and adjust the float valve as needed. Finally, flush the toilet to confirm its functionality and make any necessary adjustments.
Plumbing Connections: Ensuring Water Supply and Waste Drainage

Toilet installation requires careful attention to plumbing connections, as it’s a crucial step ensuring smooth operation and preventing future issues. The first consideration is establishing a reliable water supply. This involves connecting the toilet to your home’s main water line, typically with a ball valve or pressure-balance valve assembly. These components regulate water pressure and flow, guaranteeing a consistent supply for flushing without any interruptions or surges that could damage the fixture.
Equally important is setting up proper waste drainage. The toilet is connected to the building’s drainage system through a trapway, which connects to the main sewer line or septic tank. It’s vital to ensure these connections are sealed tightly using appropriate plumbing compounds to prevent leaks and blockages. Proper ventilation also plays a role; vent pipes installed above the toilet help maintain proper air pressure in the drain lines, facilitating smooth waste flow.
Final Touches and Testing: Commissioning Your New Toilet

After completing the toilet installation, it’s time to perform some final touches and testing to ensure everything functions seamlessly. This step involves checking all connections, flushing the toilet multiple times, and verifying that the water level is correct. Pay close attention to any leaks at the base or around the tank, as these could indicate issues with the flapper or supply lines.
Once satisfied with the initial tests, let the system sit for a period to allow any air bubbles to dissipate in the pipes. Then, conduct a final flush and listen for any unusual noises that might suggest problems with the mechanics. It’s also recommended to check the toilet’s alignment and levelness, ensuring it sits firmly on the floor without any signs of rocking. This meticulous process guarantees a smooth user experience and confirms a successful Toilet Installation.