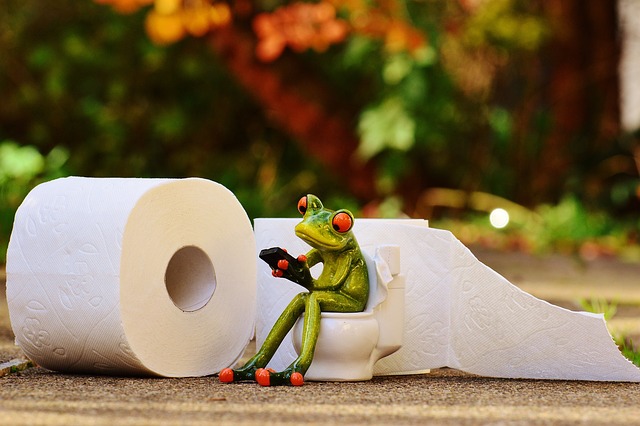
Toilet Installation can be a DIY project, but it's complex with potential issues like running toilets, clogs, and leaks. Preparation includes assessing plumbing compatibility, checking for leaks, and gathering tools. Choose toilet types based on space and needs: compact, traditional, or low-flow models. A step-by-step guide ensures successful installation. Post-installation maintenance involves regular checks for leaks, proper flush operation, and non-abrasive cleaning to extend the lifespan of your new toilet.
Looking to fix or install a toilet? Understanding common issues and their causes is key, empowering you to tackle problems head-on. Before installation, prepare your space for optimal results. Explore different toilet types to choose the perfect fit for your bathroom. Our step-by-step guide ensures a smooth installation process. Learn to troubleshoot post-installation hiccups and maintain your new or repaired toilet for peak performance. Discover expert tips and techniques for seamless toilet installation.
Understanding Common Toilet Issues and Their Causes
Toilet Installation can be a complex process, especially when common issues arise. Understanding these problems and their root causes is key to effective troubleshooting and long-lasting solutions. One frequent issue is a running toilet, where water continues to flow even after flushing. This is often due to a leaky flapper or a faulty fill valve, causing unnecessary wastage. Another typical problem is clogs, which can be caused by foreign objects, tree roots infiltrating pipes, or improper waste disposal.
Regular maintenance and inspections are crucial to prevent these issues. For example, checking for leaks, ensuring proper sealing, and avoiding flushing non-biodegradable items can significantly reduce toilet-related headaches. Knowing the causes empowers homeowners to make informed decisions when considering Toilet Installation, allowing them to choose models with advanced features that address these common problems effectively.
Preparing for Toilet Installation: Steps Beforehand

Before tackling toilet installation, a meticulous preparation process is paramount. Start by assessing your current plumbing setup and ensuring compatibility with the new toilet model. Check for any leaks in the pipes connected to the toilet and address them promptly. The bathroom’s layout should be considered; measure the space available to guarantee the new toilet fits without hindering access or causing discomfort.
Gather necessary tools and materials, including a new toilet, installation hardware, sealing compounds, and possibly a new toilet tank or bowl. Turn off the water supply to prevent any accidents during the installation process. This step is crucial for safety and ensures you can work with dry pipes. Familiarize yourself with the instructions provided by the manufacturer, as different models may have unique requirements or sequence of steps for a seamless Toilet Installation.
Types of Toilets: Choosing the Right Fit for Your Space
When it comes to toilet repair and installation, understanding the various types of toilets available is crucial for a successful toilet installation. The key distinction lies in design and functionality, each tailored to different spatial constraints and personal preferences. Compact toilets are ideal for smaller bathrooms or spaces with limited room, offering a space-saving solution without compromising on performance. On the other hand, traditional models provide a classic aesthetic and often come with additional features like elongated bowls for enhanced comfort.
For a practical approach, low-flow or water-efficient toilets are becoming increasingly popular. These models reduce water consumption per flush, not only contributing to environmental sustainability but also potentially lowering utility bills. When considering toilet installation, it’s essential to match the chosen toilet’s dimensions and specifications with your bathroom’s layout to ensure a perfect fit and optimal functionality.
The Installation Process: A Step-by-Step Guide

Toilet Installation: A Simple Step-by-Step Guide
1. Prepare the Area: Remove the old toilet, cleaning up any debris left behind. Ensure the floor is level and in good condition. If necessary, adjust the subfloor to create a flat surface.
2. Install the Floor Mounts: Secure new floor mounts according to the manufacturer’s instructions. These mounts provide stability and are typically bolted into the floor. Make sure they’re level and aligned correctly for a snug fit.
3. Attach the Toilet Base: Place the toilet base on top of the floor mounts, ensuring it sits securely in place. Use adjustable wrenches or pliers to tighten the bolts.
4. Connect Water Lines: Attach the water supply lines to the back of the toilet, following your plumbing guidelines for proper connections and sealing. Test the connections for leaks.
5. Install the Tank and Handle: Mount the tank onto the toilet base, ensuring all components are aligned correctly. Secure it in place with screws or bolts, then attach the flush handle and any additional accessories.
6. Final Touches: Fill the tank with water and test the flush mechanism to ensure everything functions properly. Adjust any settings as needed and clean up any remaining debris before enjoying your newly installed toilet.
Troubleshooting Post-Installation: Common Problems and Solutions

After successfully installing a new toilet, it’s important to be prepared for potential issues that may arise. Some common problems homeowners face post-installation include slow draining, clogs, and water leaks. These can often be resolved with simple troubleshooting steps. For instance, if the toilet isn’t flushing properly, check the float valve and chain connection; ensure they are securely fastened and adjusted correctly.
In case of a slow drain, try using a plunger or a chemical drain cleaner to clear any obstructions. If leaks occur, inspect the wax seal and bolts around the base of the toilet. A loose seal or damaged bolt might be causing the leak. Replacing these parts or re-sealing can fix most water leakage issues. Regular maintenance checks and quick problem-solving techniques will ensure your newly installed toilet functions optimally for years to come, enhancing your overall toilet installation experience.
Maintenance Tips to Ensure Longevity and Performance
Regular maintenance is key to extending the lifespan of your toilet and maintaining its optimal performance. Start by checking for any leaks around the base and behind the bowl at least once a month. Even small drips can lead to significant water waste and higher utility bills over time. Addressing leaks promptly will save you from more extensive repairs down the line.
Additionally, keep an eye on the flush mechanism. Ensure the chain is connecting properly to the flapper valve, allowing for a complete seal after each flush. Regularly clean the toilet bowl with non-abrasive cleaners to prevent buildup and mineral deposits. This simple step can significantly improve water clarity and overall hygiene. Remember, proper maintenance not only saves costs but also ensures your toilet installation remains efficient and reliable.